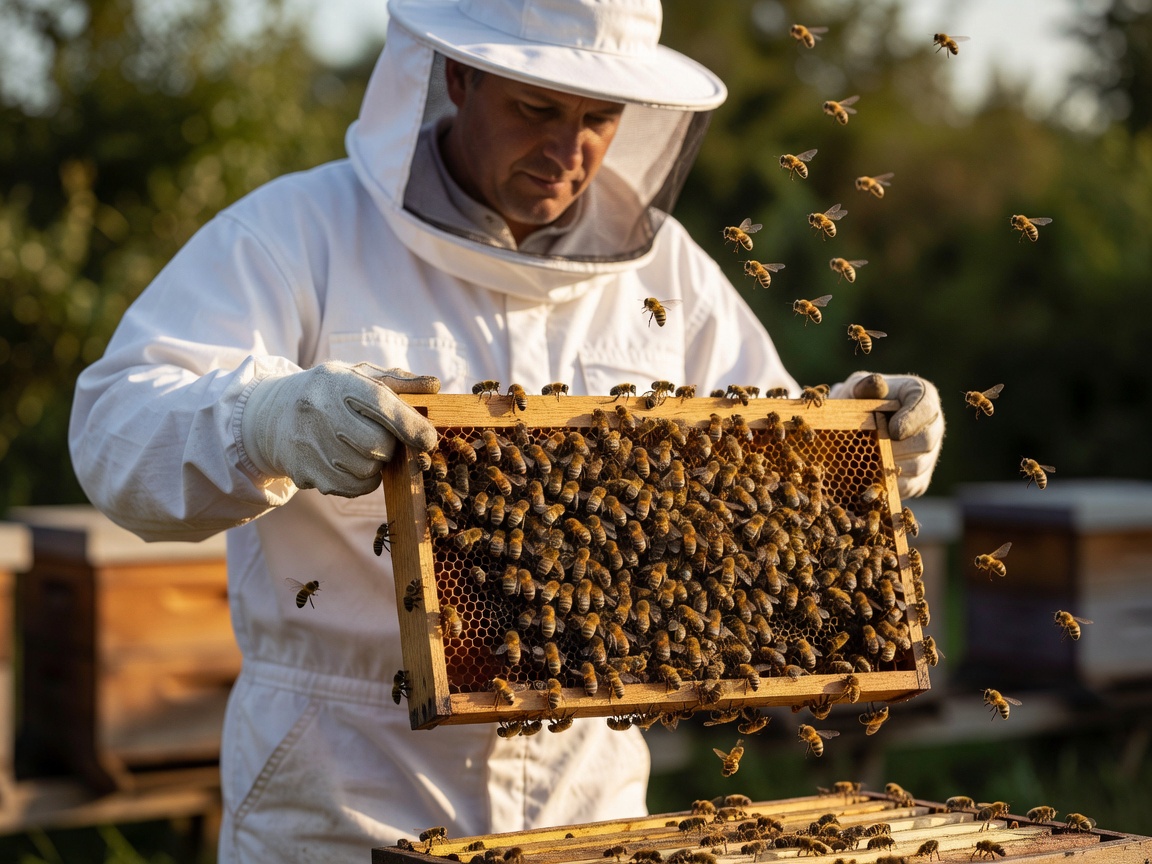
Embarking on a beekeeping journey is an exciting decision, but it requires careful preparation before any bees actually arrive on your property. First-year beekeepers often make the mistake of rushing to purchase equipment and bees without fully understanding the legal, financial, and spatial requirements of keeping livestock. This guide will walk you through the essential preparatory steps required for a successful first season.
Researching Local Zoning and Legalities
Before purchasing anything, you must determine if keeping bees is legal in your specific location. Zoning laws dictate what you can and cannot do on your property, and keeping agricultural livestock (which bees are classified as in many jurisdictions) is often strictly regulated in suburban and urban environments.
Check with your municipal planning department or local homeowners' association (HOA). Common regulations you might encounter include:
- Setback requirements: Hives must be placed a minimum distance (e.g., 10 to 25 feet) from property lines, sidewalks, or roads.
- Flyway barriers: A solid fence, wall, or dense hedge (typically 6 feet high) may be required near the hive entrance to force bees to fly upward over pedestrian traffic.
- Hive limits: Many urban zones limit the number of hives per property based on square footage (for instance, a maximum of two hives on a standard quarter-acre lot).
- Registration: State or national agricultural departments frequently require beekeepers to register their apiary locations to monitor disease outbreaks and pesticide spraying schedules.
Choosing the Right Location
If your property permits hives, the next step is selecting the ideal spot. Bees need specific environmental conditions to thrive. A poor location can lead to low honey production, aggressive bees, or colony death during harsh weather.
The ideal hive location should have:
- Morning sun: Eastern exposure warms the hive early in the day, encouraging the foragers to start working sooner.
- Afternoon shade: In hot climates, late-day shade prevents the colony from overheating and expending excess energy on cooling the hive.
- Windbreaks: Protection from harsh prevailing winter winds is crucial. A physical barrier like a fence or evergreen tree line can save a colony from freezing.
- Fresh water source: Bees need water to dilute honey and cool the hive. If you do not provide a shallow water source (like a birdbath filled with pebbles), they will find it in your neighbor's swimming pool.
Setting a Realistic Budget
Beekeeping requires a significant initial investment. While the ongoing yearly costs are relatively low once established, the first year involves buying capital equipment, protective gear, and the bees themselves.
For a beginner starting with one or two standard Langstroth hives, expect to budget between $500 and $1,000 for the first year. Setting up two hives is strongly recommended over a single hive; having two allows you to compare their progress, share resources between a strong and weak hive, and guarantees you won't lose your entire apiary if one colony fails.
- Hardware: Woodenware, bottom boards, covers, and frames ($150–$300 per hive).
- Protective Gear: A high-quality ventilated suit, gloves, and veil ($100–$250).
- Tools: Smoker, hive tool, bee brush ($50–$80).
- The Bees: A 3lb package of bees with a mated queen typically costs between $130 and $200, depending on the supplier and breed.
Sourcing Your First Colony
There are three primary ways beginners acquire bees: purchasing a package, buying a nucleus colony (nuc), or catching a swarm.
Packages: A package is essentially a screened box containing about 10,000 worker bees and a separate caged queen. They are generally the most affordable and available option but require the bees to draw out entirely new wax comb, which slows down initial growth.
Nucleus Colonies (Nucs): A nuc is a miniature, established hive (usually 4 to 5 frames) that includes drawn comb, brood, food stores, and a laying queen. While more expensive than packages, nucs give a massive head start because the colony is already functioning. For beginners, nucs are widely considered the most reliable starting point.
Swarm Catching: While free, catching a wild swarm is generally not recommended for absolute beginners. Wild swarms have unknown genetics, potential defensive temperaments, and can harbor diseases or pests that you may not yet have the skills to identify.
Summary and Next Steps
Beekeeping is highly seasonal. The best time to start planning and purchasing equipment is in the late autumn or early winter. Suppliers begin taking pre-orders for bees in January, and they regularly sell out by February. The bees themselves are typically delivered in early spring (April or May), depending on your local climate.
Take the winter months to read extensively, assemble and paint your woodenware, and join a local beekeeping association. Finding a local mentor is arguably the single most valuable step you can take, as beekeeping practices vary wildly based on local microclimates and floral availability.